
Your first project
This page walks you through creating your first Searchspeare project end-to-end.
A project is where Searchspeare keeps everything for one job: your source files, the language pair, the project settings, and the resources you want to reuse (translation memory and glossary).
Before you start
- Make sure Searchspeare is open.
- Have at least one file ready to translate.
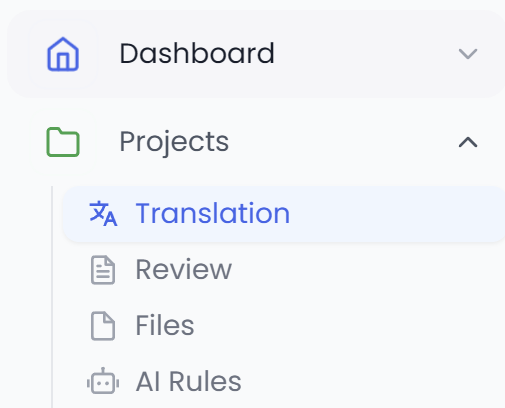
1) Go to Projects → Translation
In the top navigation bar, open Projects and choose Translation.
2) Click New
In the Translation projects screen, click New 
 to start the project creation wizard.
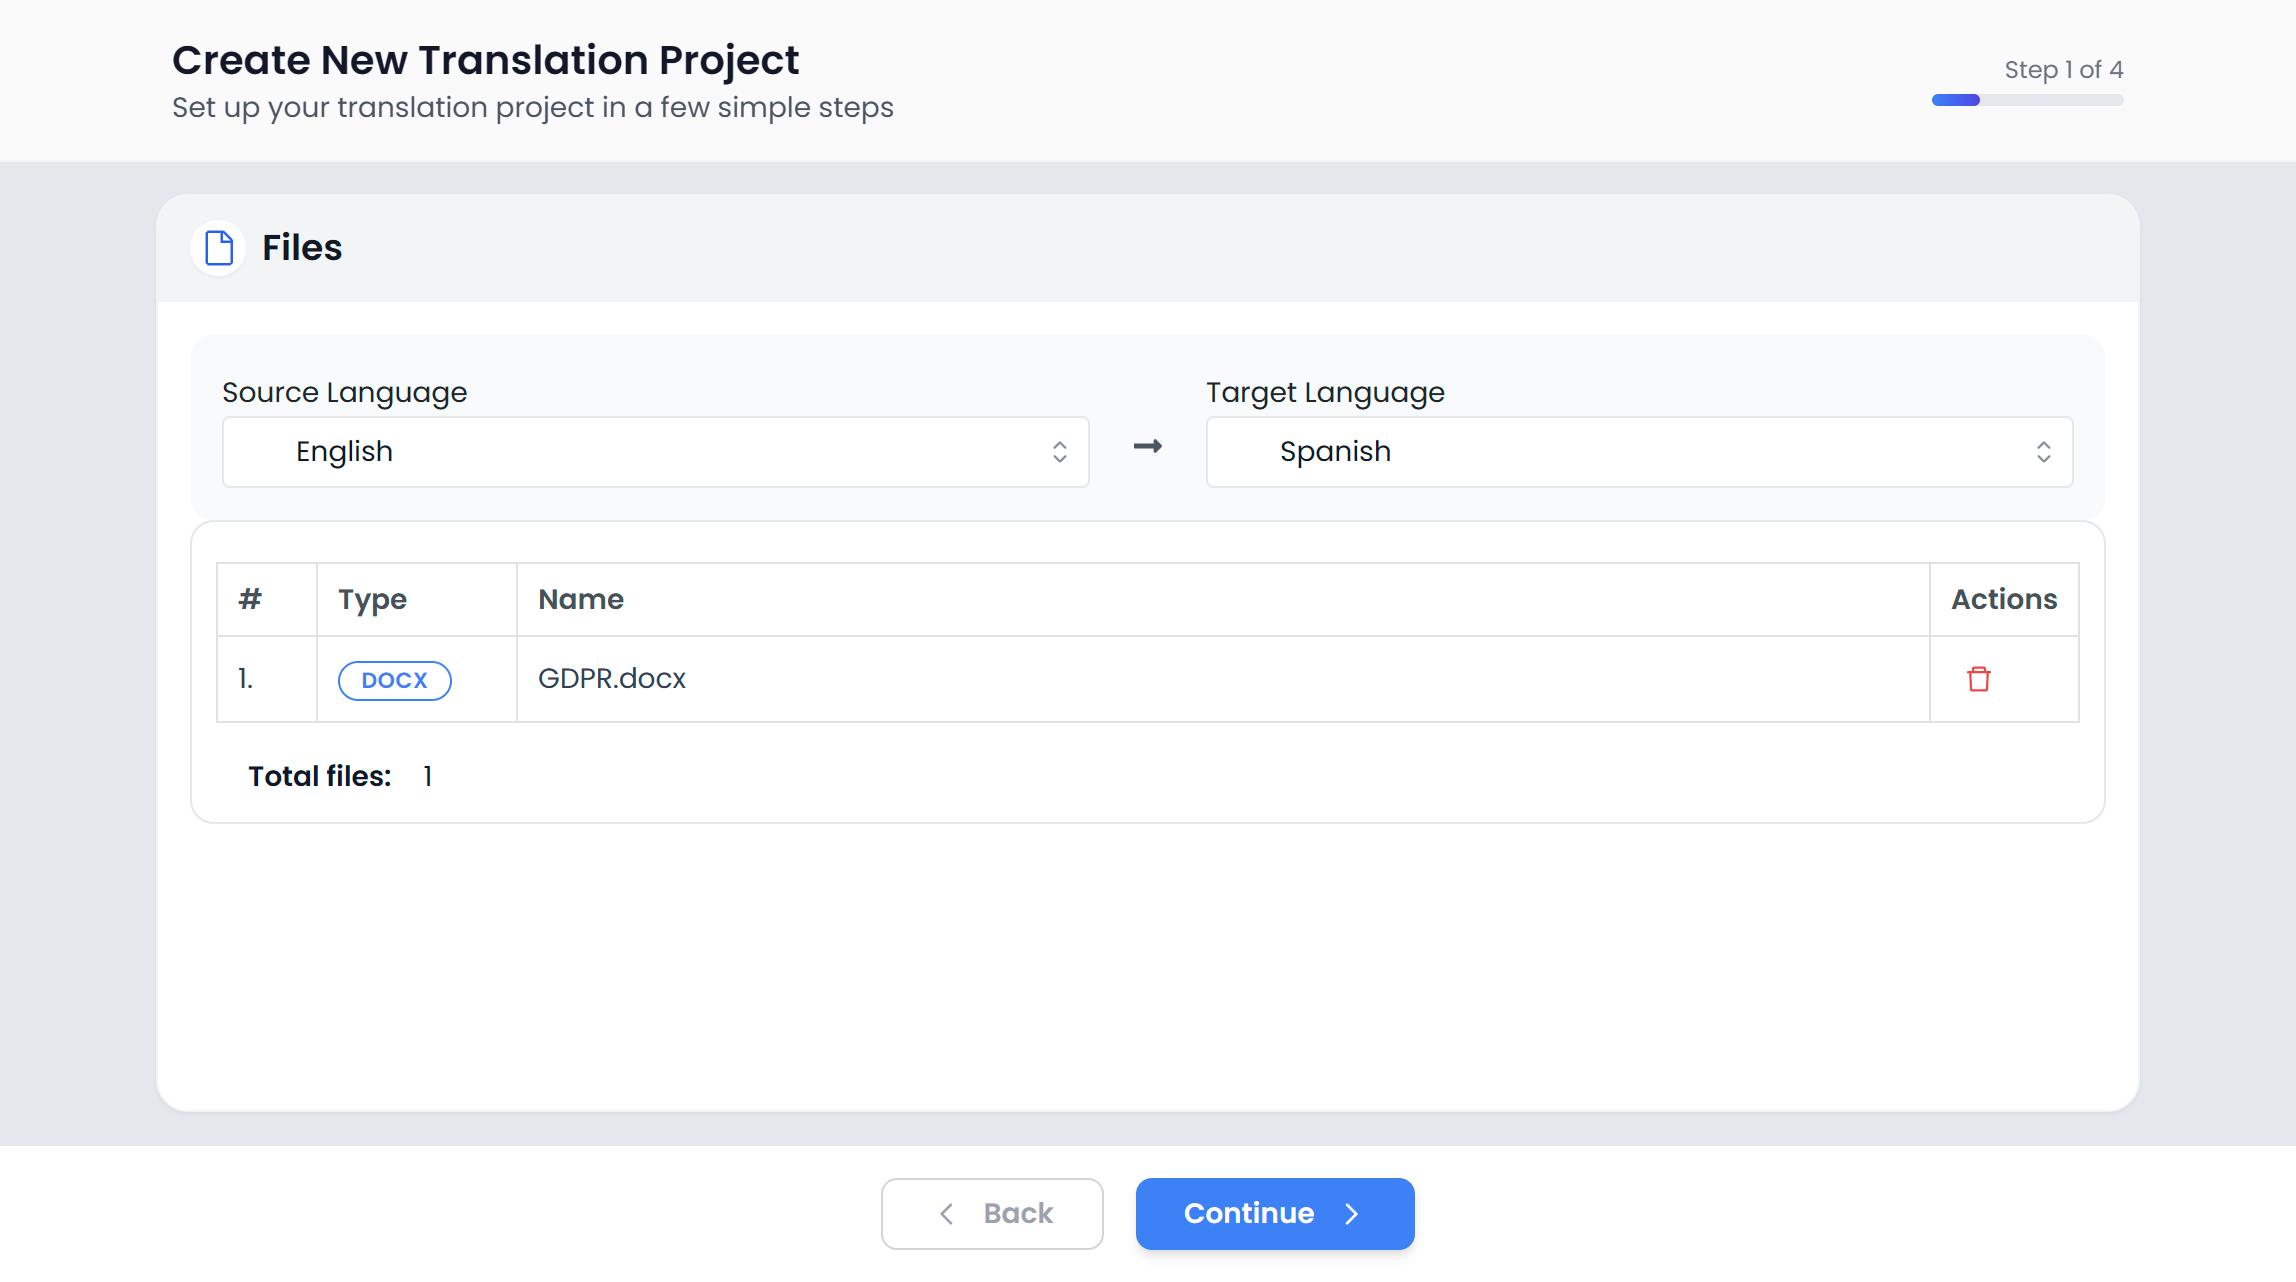
3) Choose the files you want to translate
- Click Browse or drag and drop some files.
- Pick one or multiple files from your computer.
- Confirm your selection.
Searchspeare will list the files you selected so you can review them before continuing.
TIP
If you selected the wrong file, remove it from the list and add the correct one before moving on.
4) Select the source and target languages
In the language selector:
- Source language: the language your original file is written in.
- Target language: the language you want to translate into.
Pick both carefully—Searchspeare uses this language pair to:
- choose the right translation memory and glossary,
- display matching suggestions while you translate,
- keep QA checks consistent.


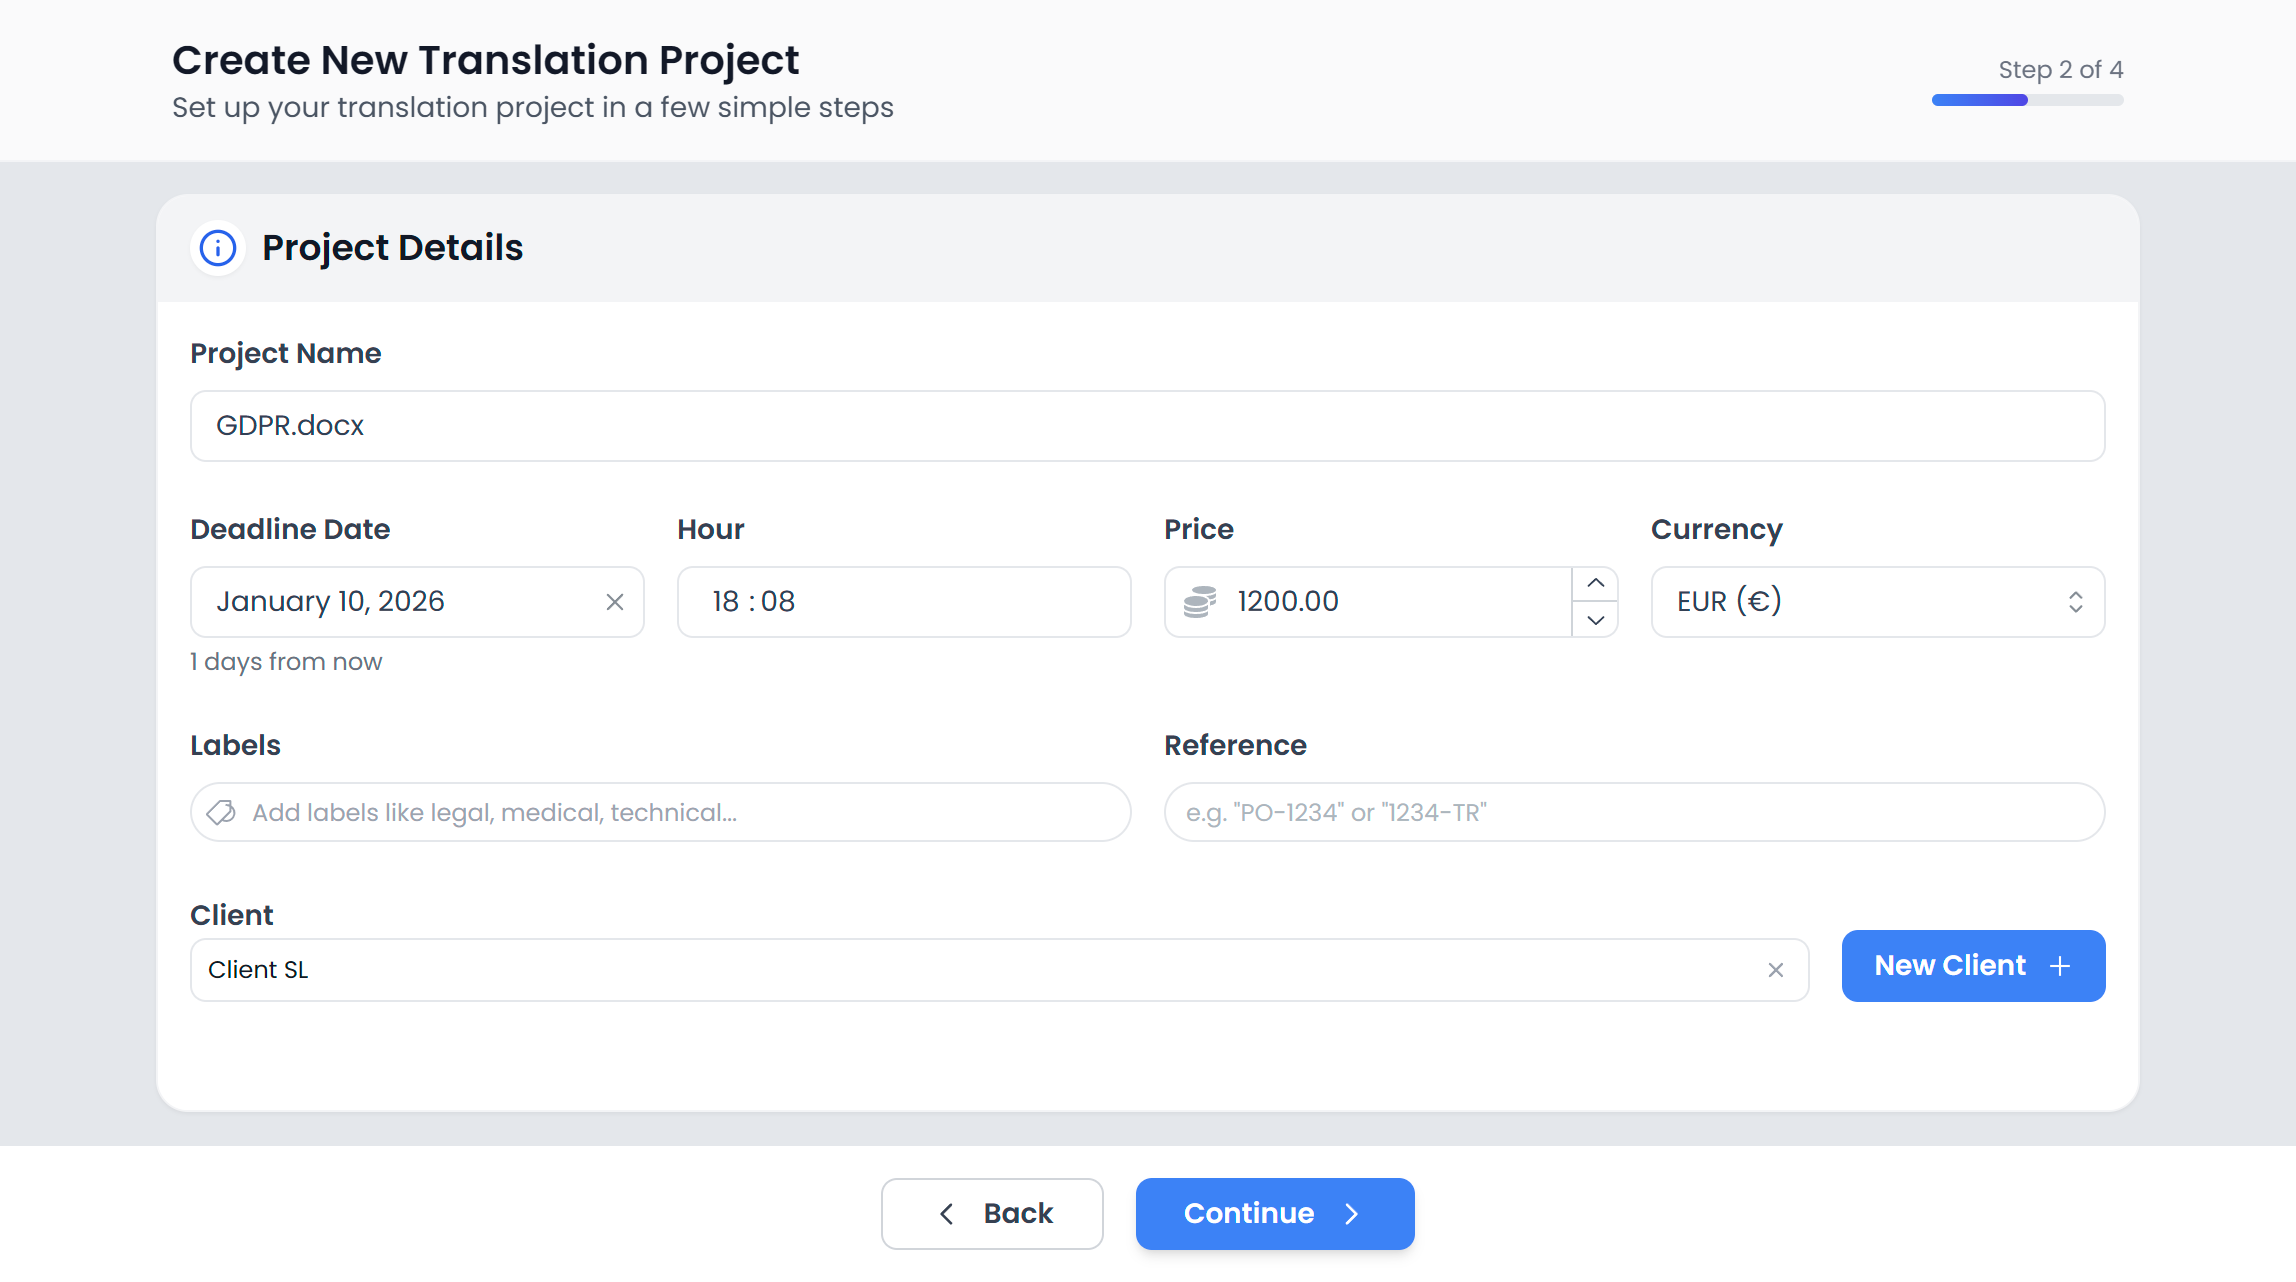
5) Configure the project settings
This step defines how the project behaves. Typical things you’ll set here include:
- project name (something you’ll recognize later),
- file processing options (depending on format),
- any defaults that should apply to the whole project.
Take a moment to skim each option—these are the “rules of the job”. You can usually adjust many settings later, but setting them correctly up front avoids rework.
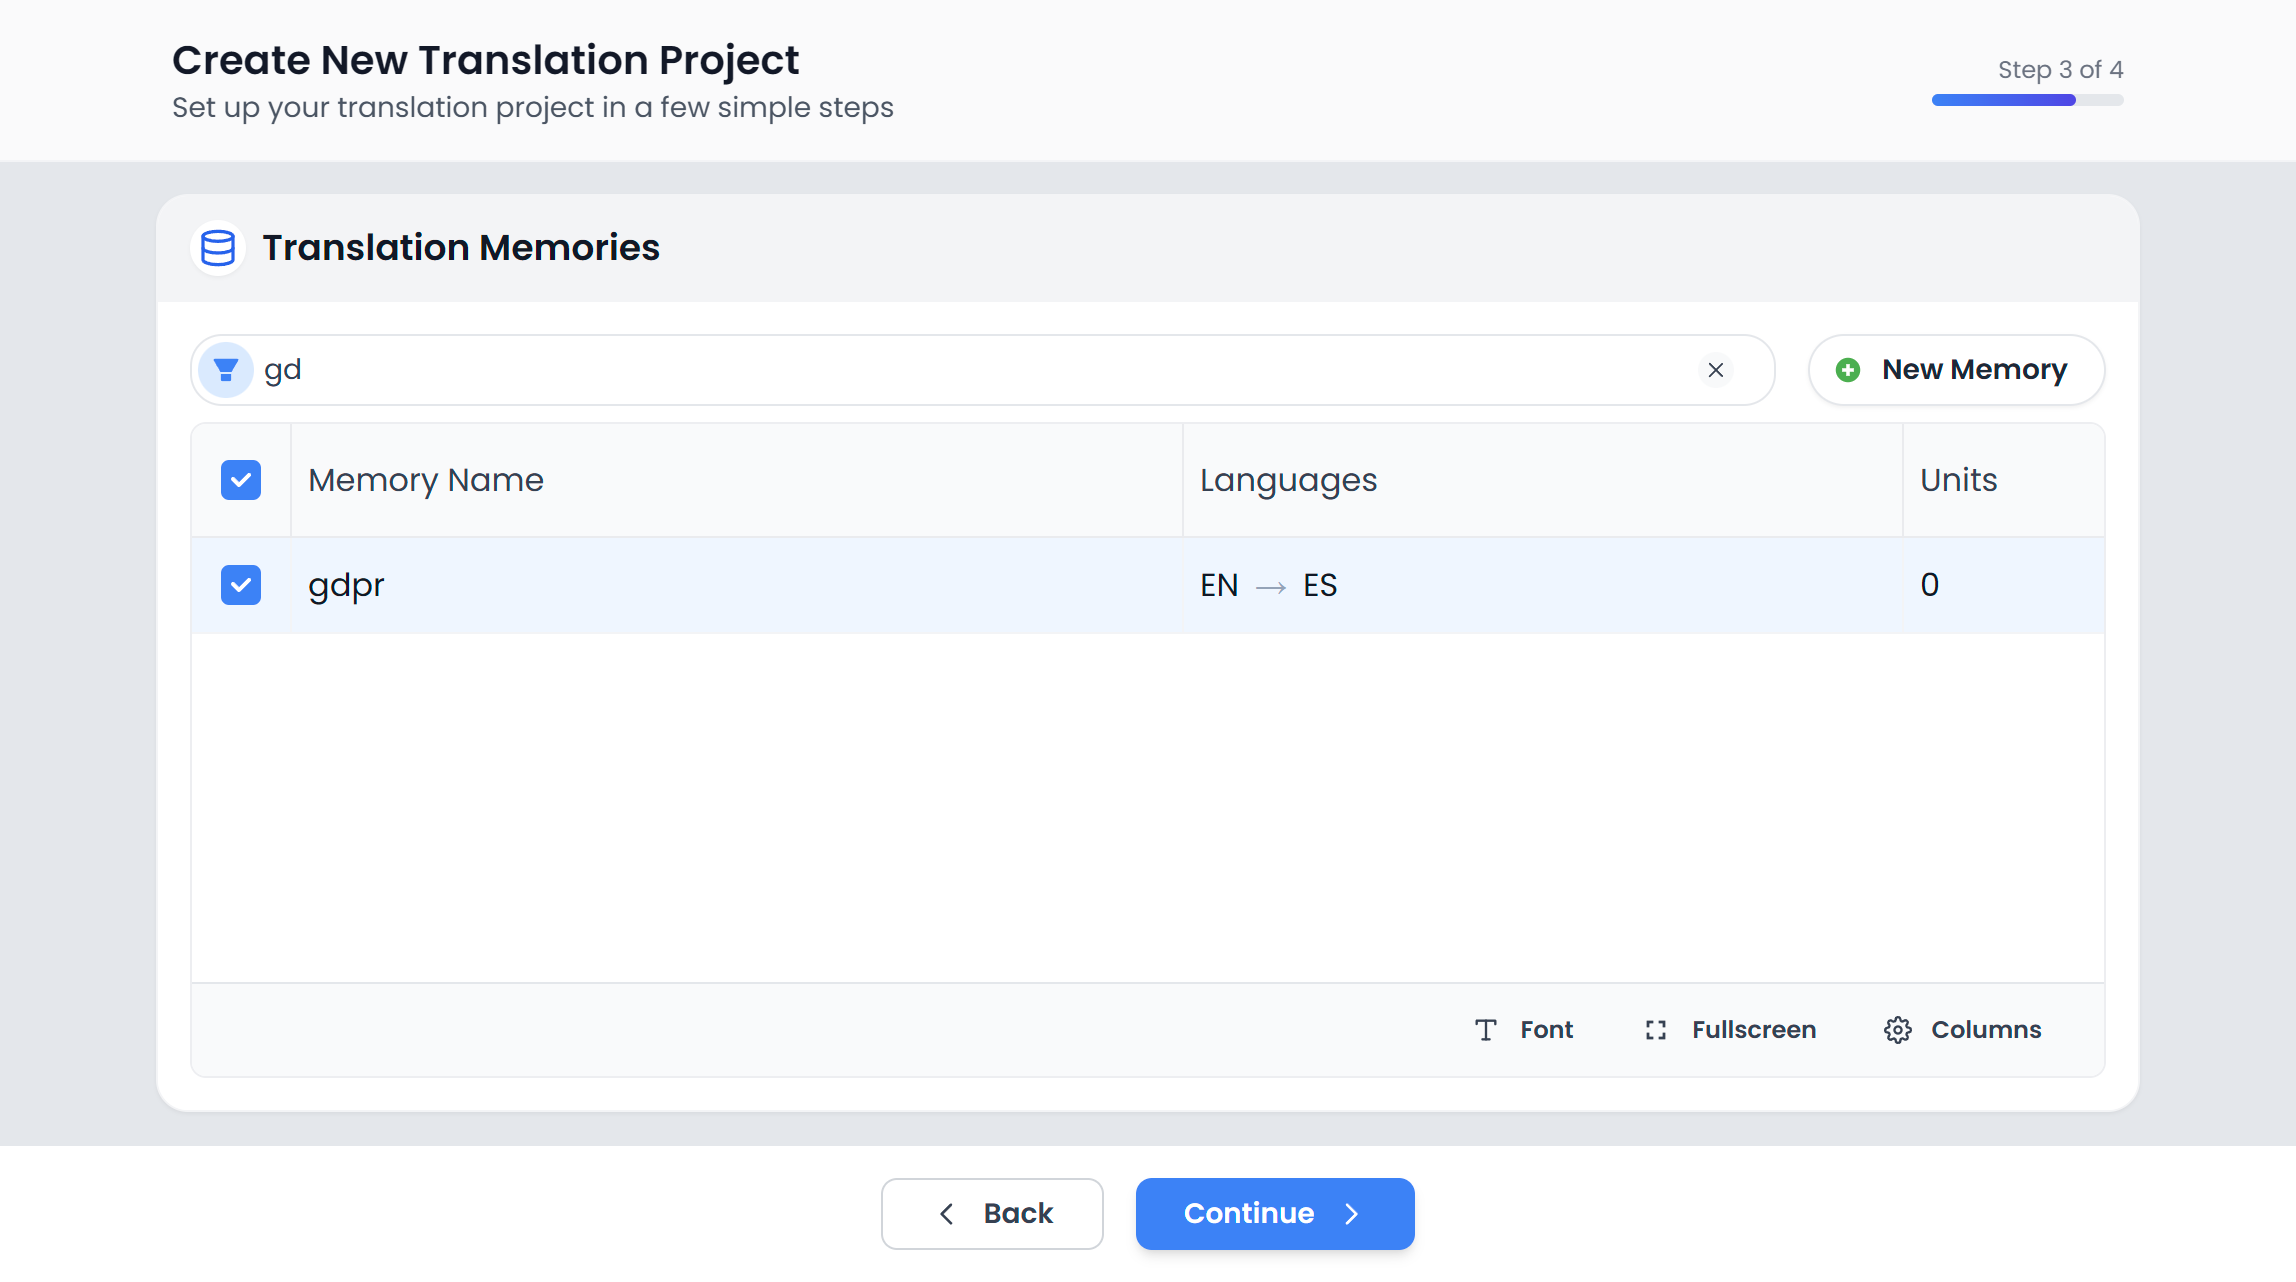
6) Attach a Translation Memory (TM)
A Translation Memory stores previous translations (source → target). When you translate new text, Searchspeare can suggest matches to help you stay consistent and save time.
On the TM step:
- Select an existing TM if you already have one for this language pair (recommended).
- Or create a new TM if this is your first job for that client/domain.
Create a new TM (optional)
If you don’t have a suitable TM yet, choose New memory 
 , name it clearly (for example, the client + domain), and confirm.
7) Attach a Termbase / Glossary
A Termbase (glossary) helps enforce preferred terminology (and can flag forbidden terms). It’s one of the best ways to keep style consistent across a project.
On the glossary step:
- Select an existing glossary/termbase if you have one.
- Or create a new one if you’re starting from scratch.
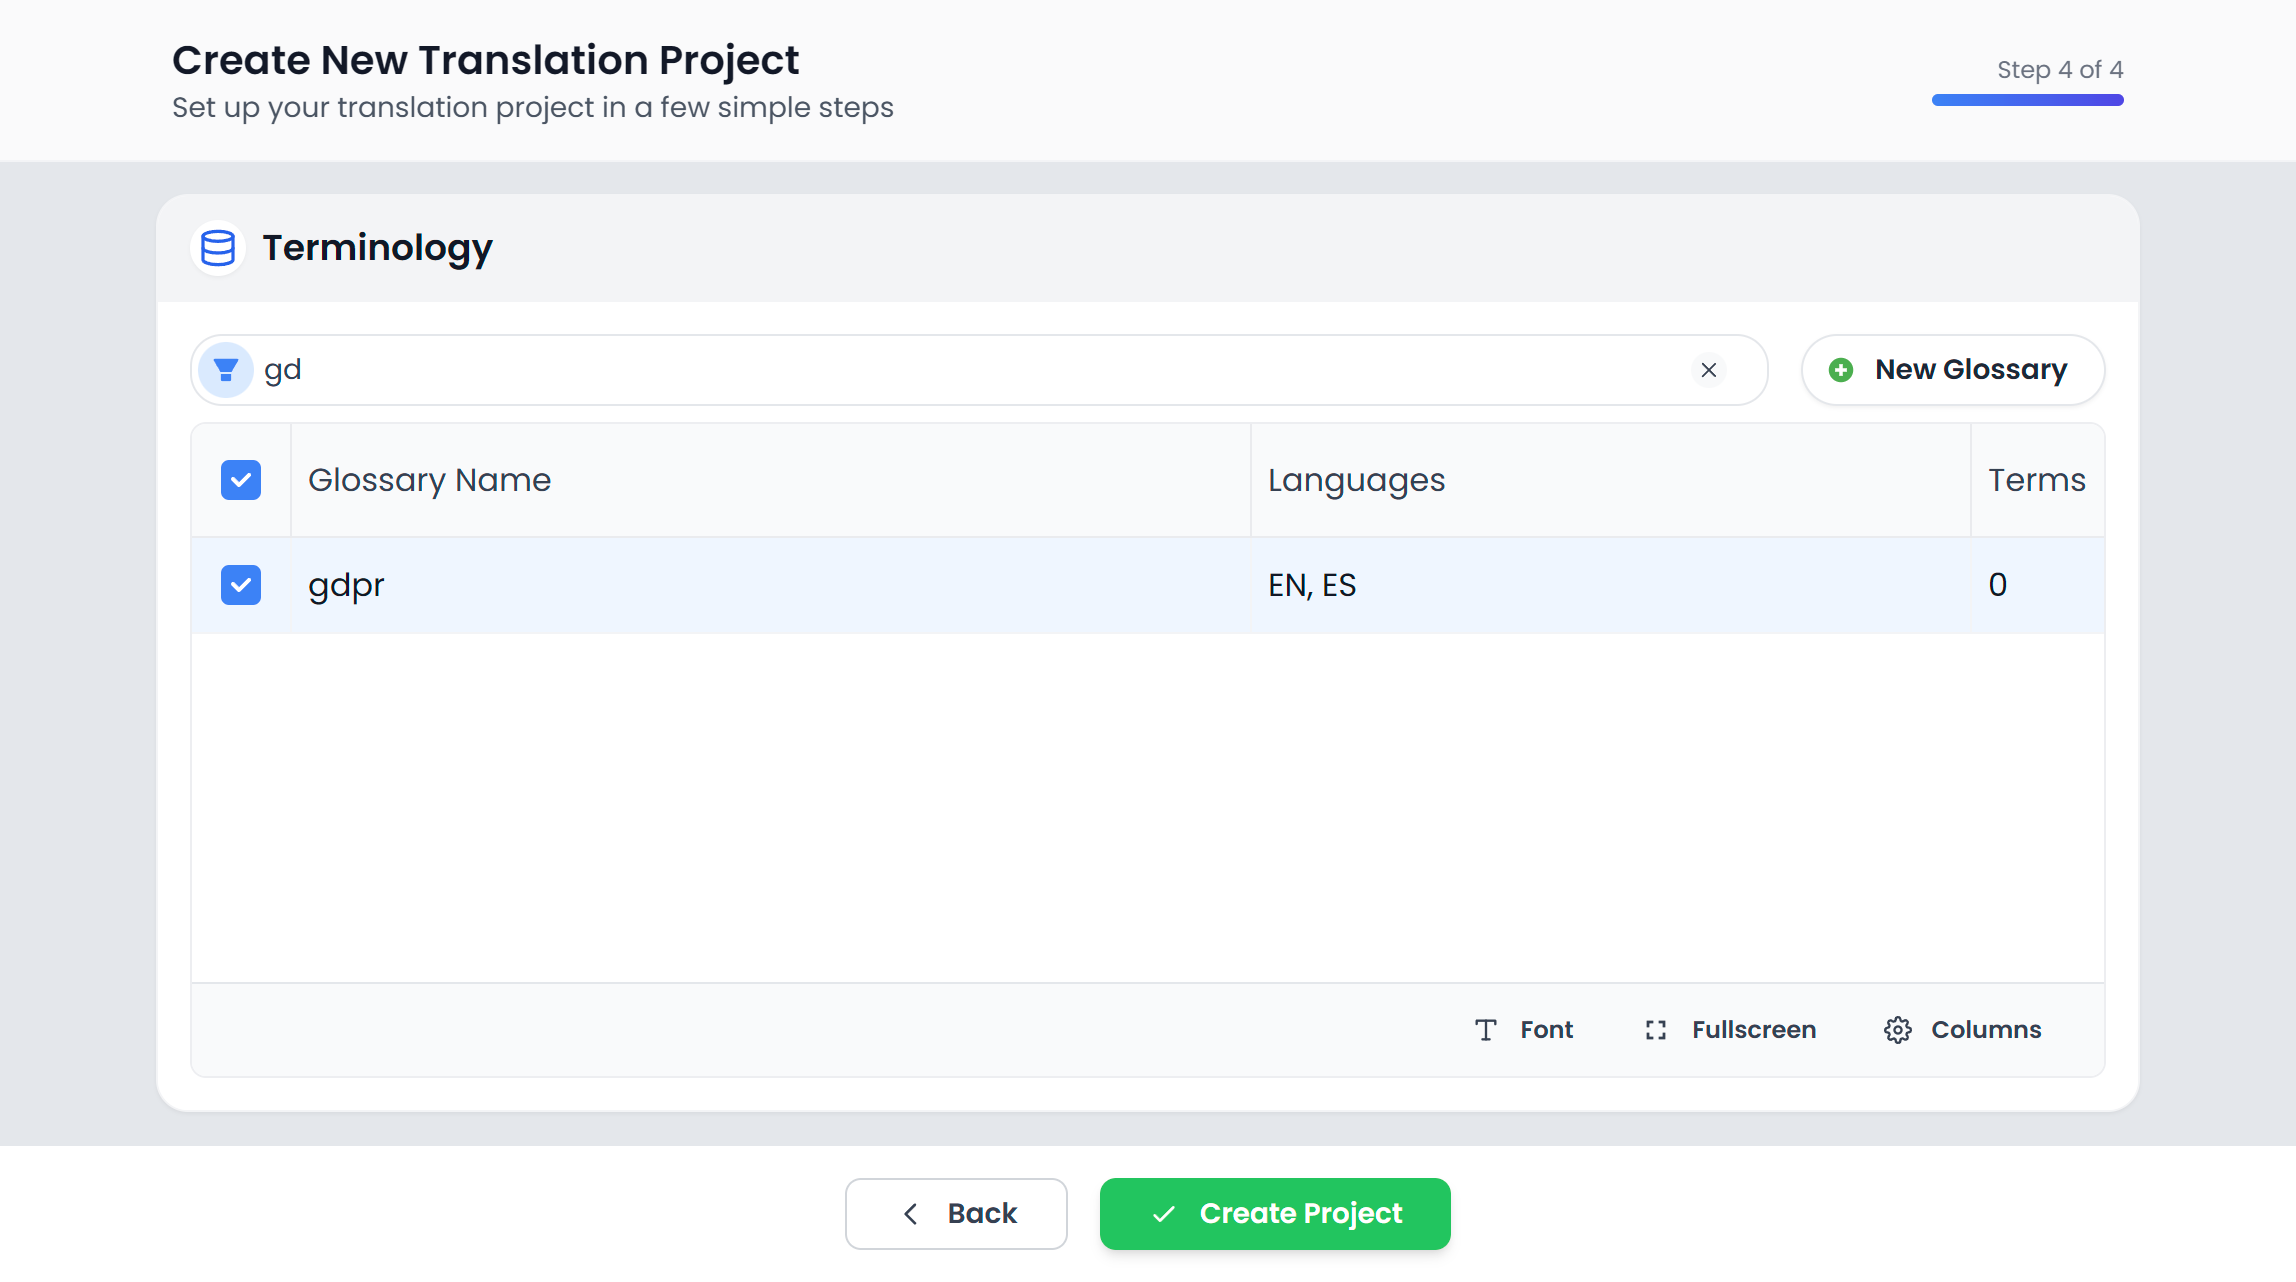
Create a new glossary (optional)
Use New glossary 
 , give it a name you’ll recognize later, and confirm.
8) Create the project
When everything looks right, click Create project  .
.
After creation, Searchspeare will create the project and navigate you to the project page where you can start translating.
Next steps
- Translate a few segments to get comfortable.
- Run QA checks before exporting.
- If you’re new to the editor, see: Powerful editor.