
The Aligner
The Aligner turns existing source + target content into paired translation units so you can reuse past translations, client-provided translations, or even text copied from the web. It’s the fastest way to build or update a Translation Memory from finished bilingual content, whether you align files or align raw text.
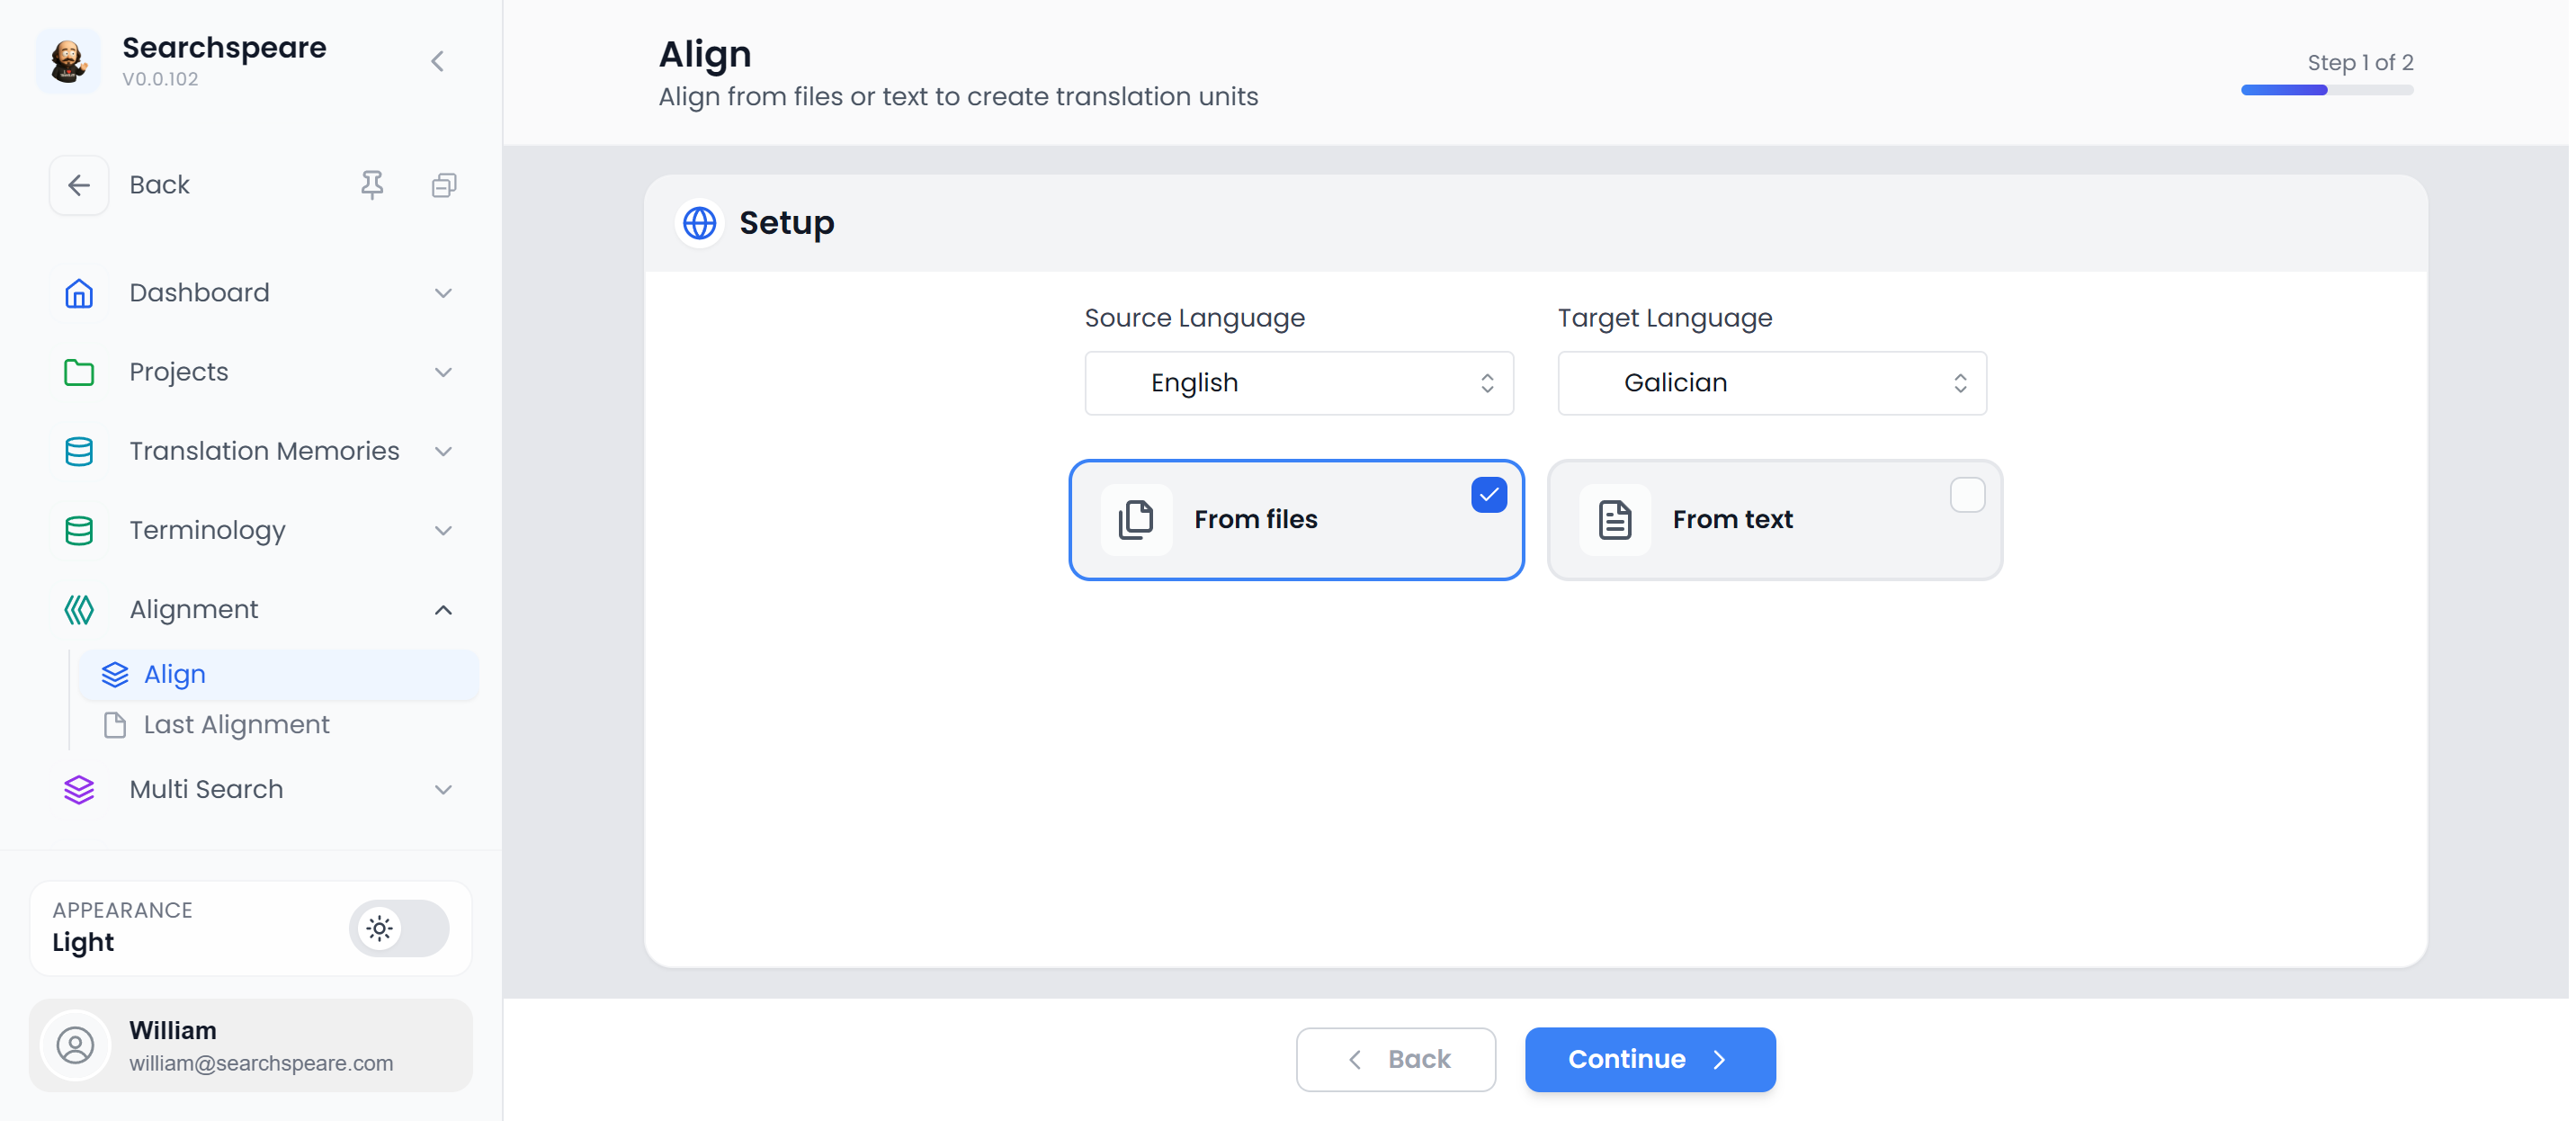
Step 1 — Setup
Choose your source and target languages, then decide whether you’re aligning from files or from text.
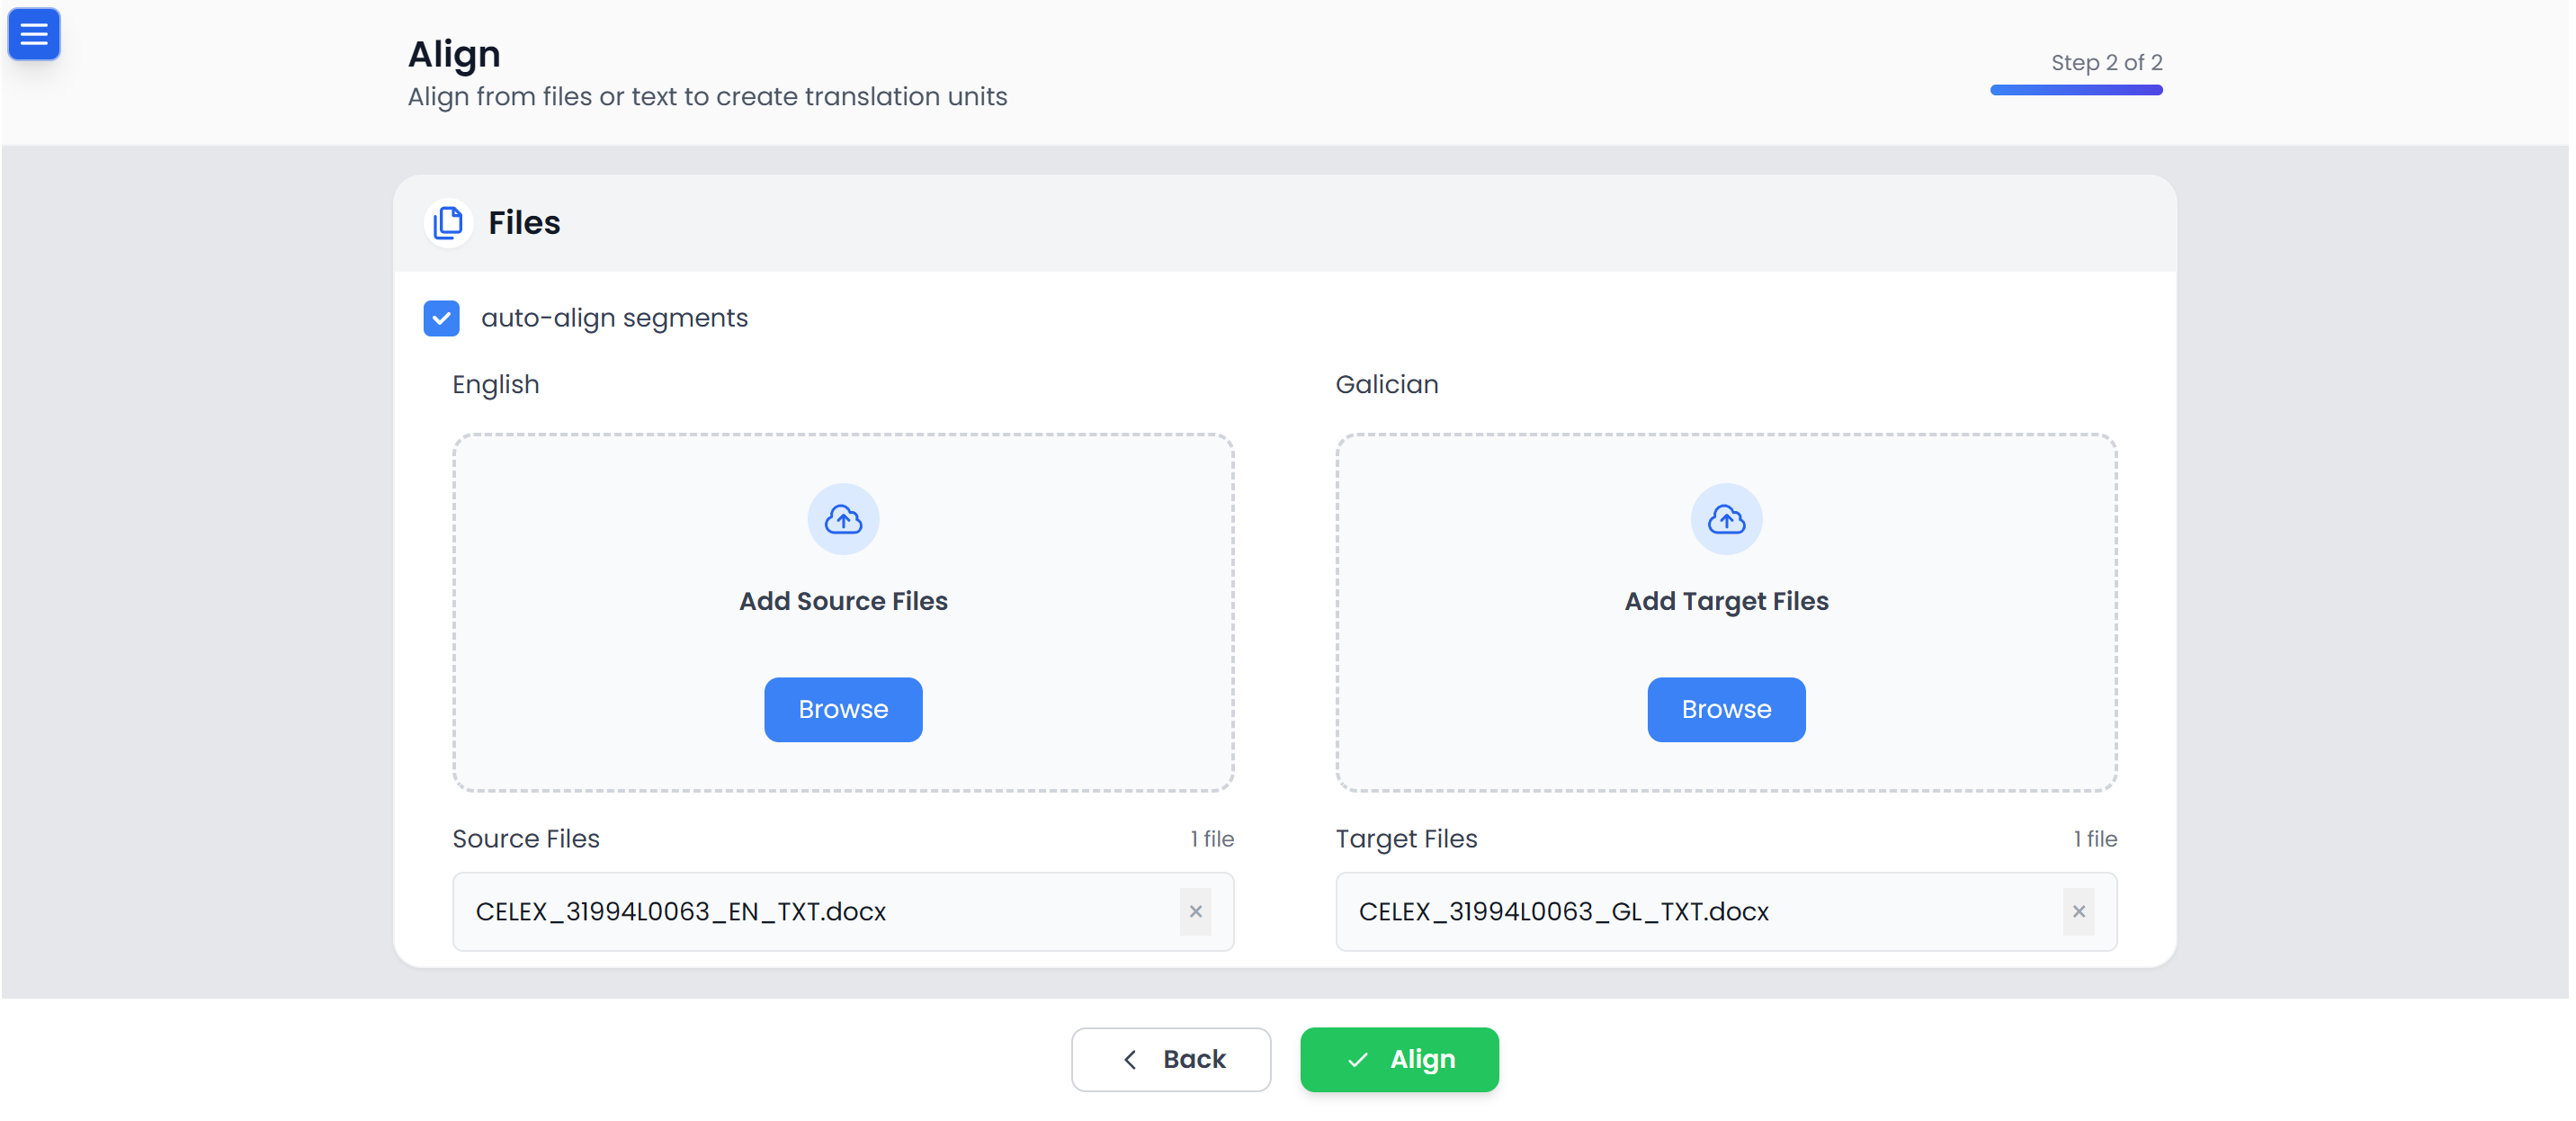
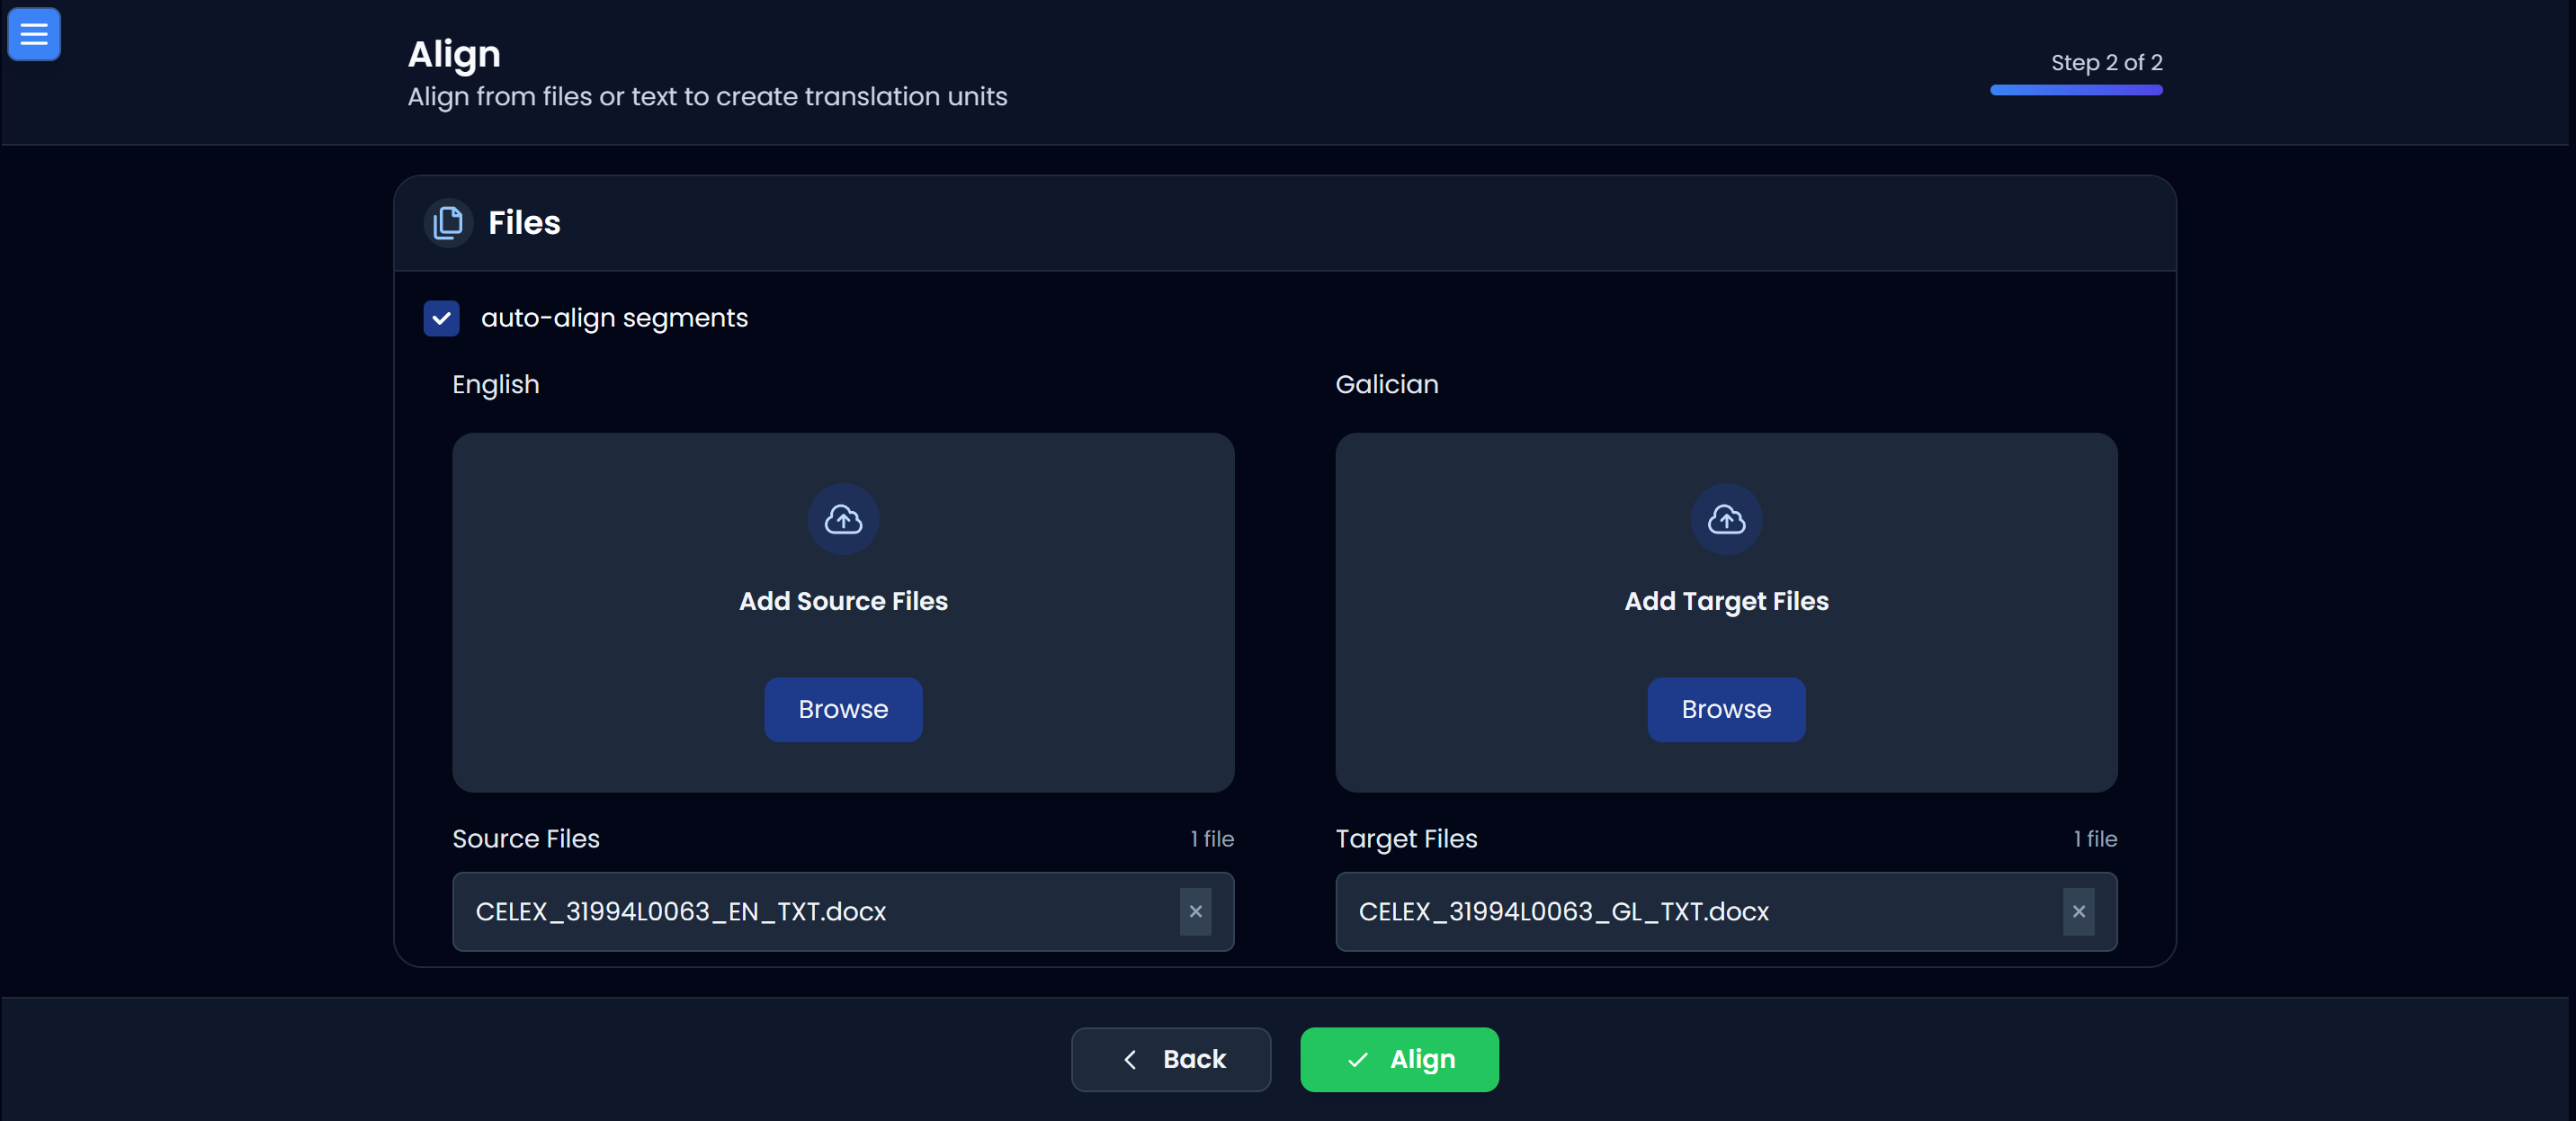
Step 2 — Add files
Attach the source and target files. If Auto‑align segments is enabled, Searchspeare will pre-align the files for you.
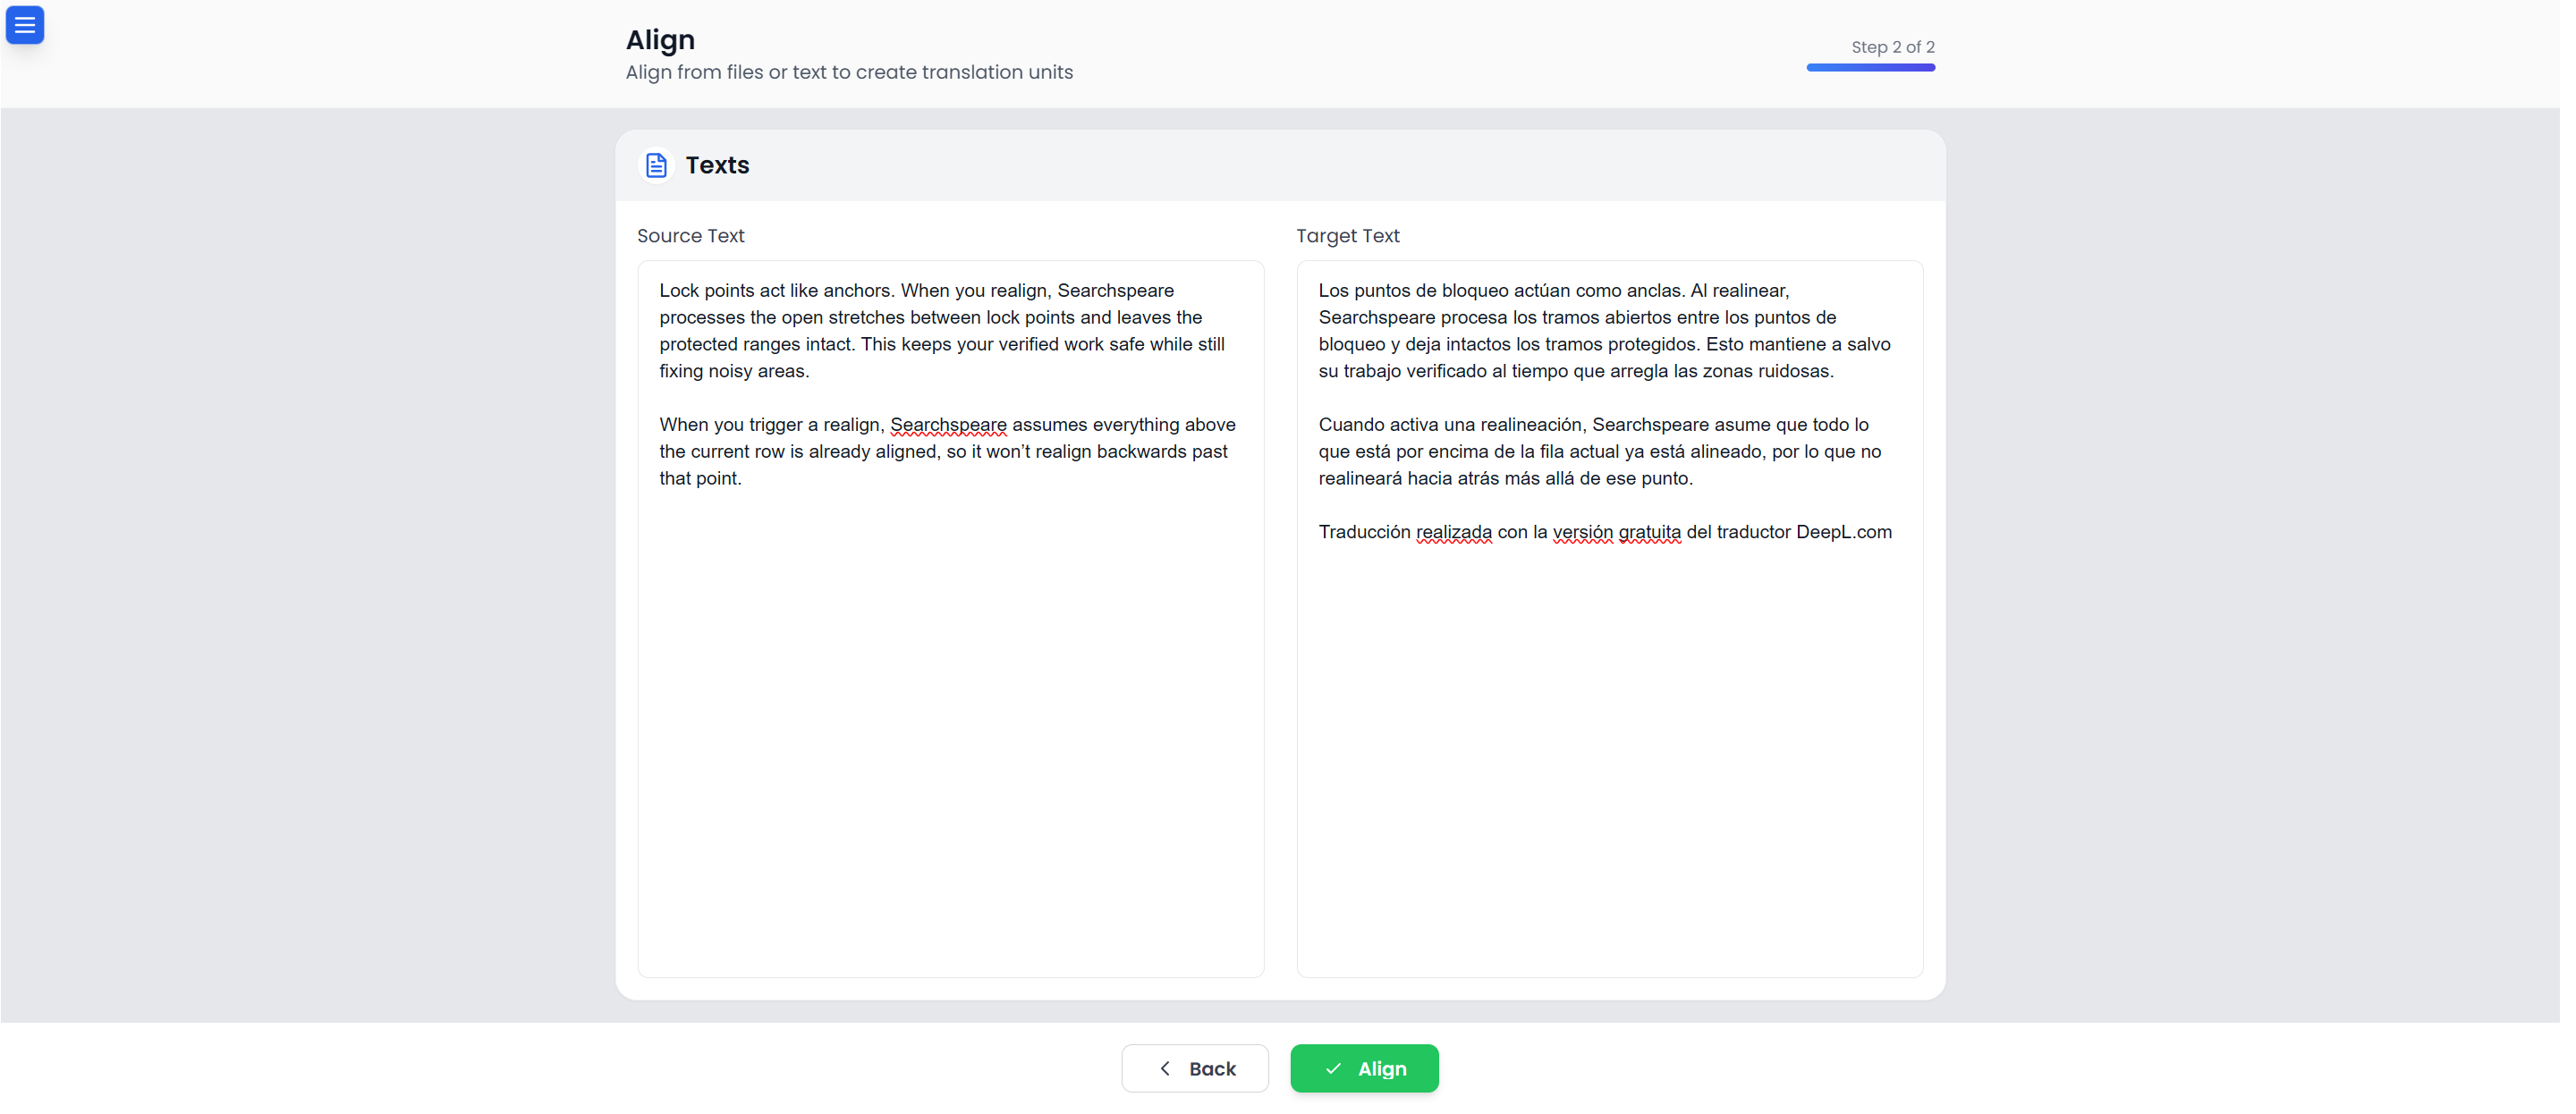
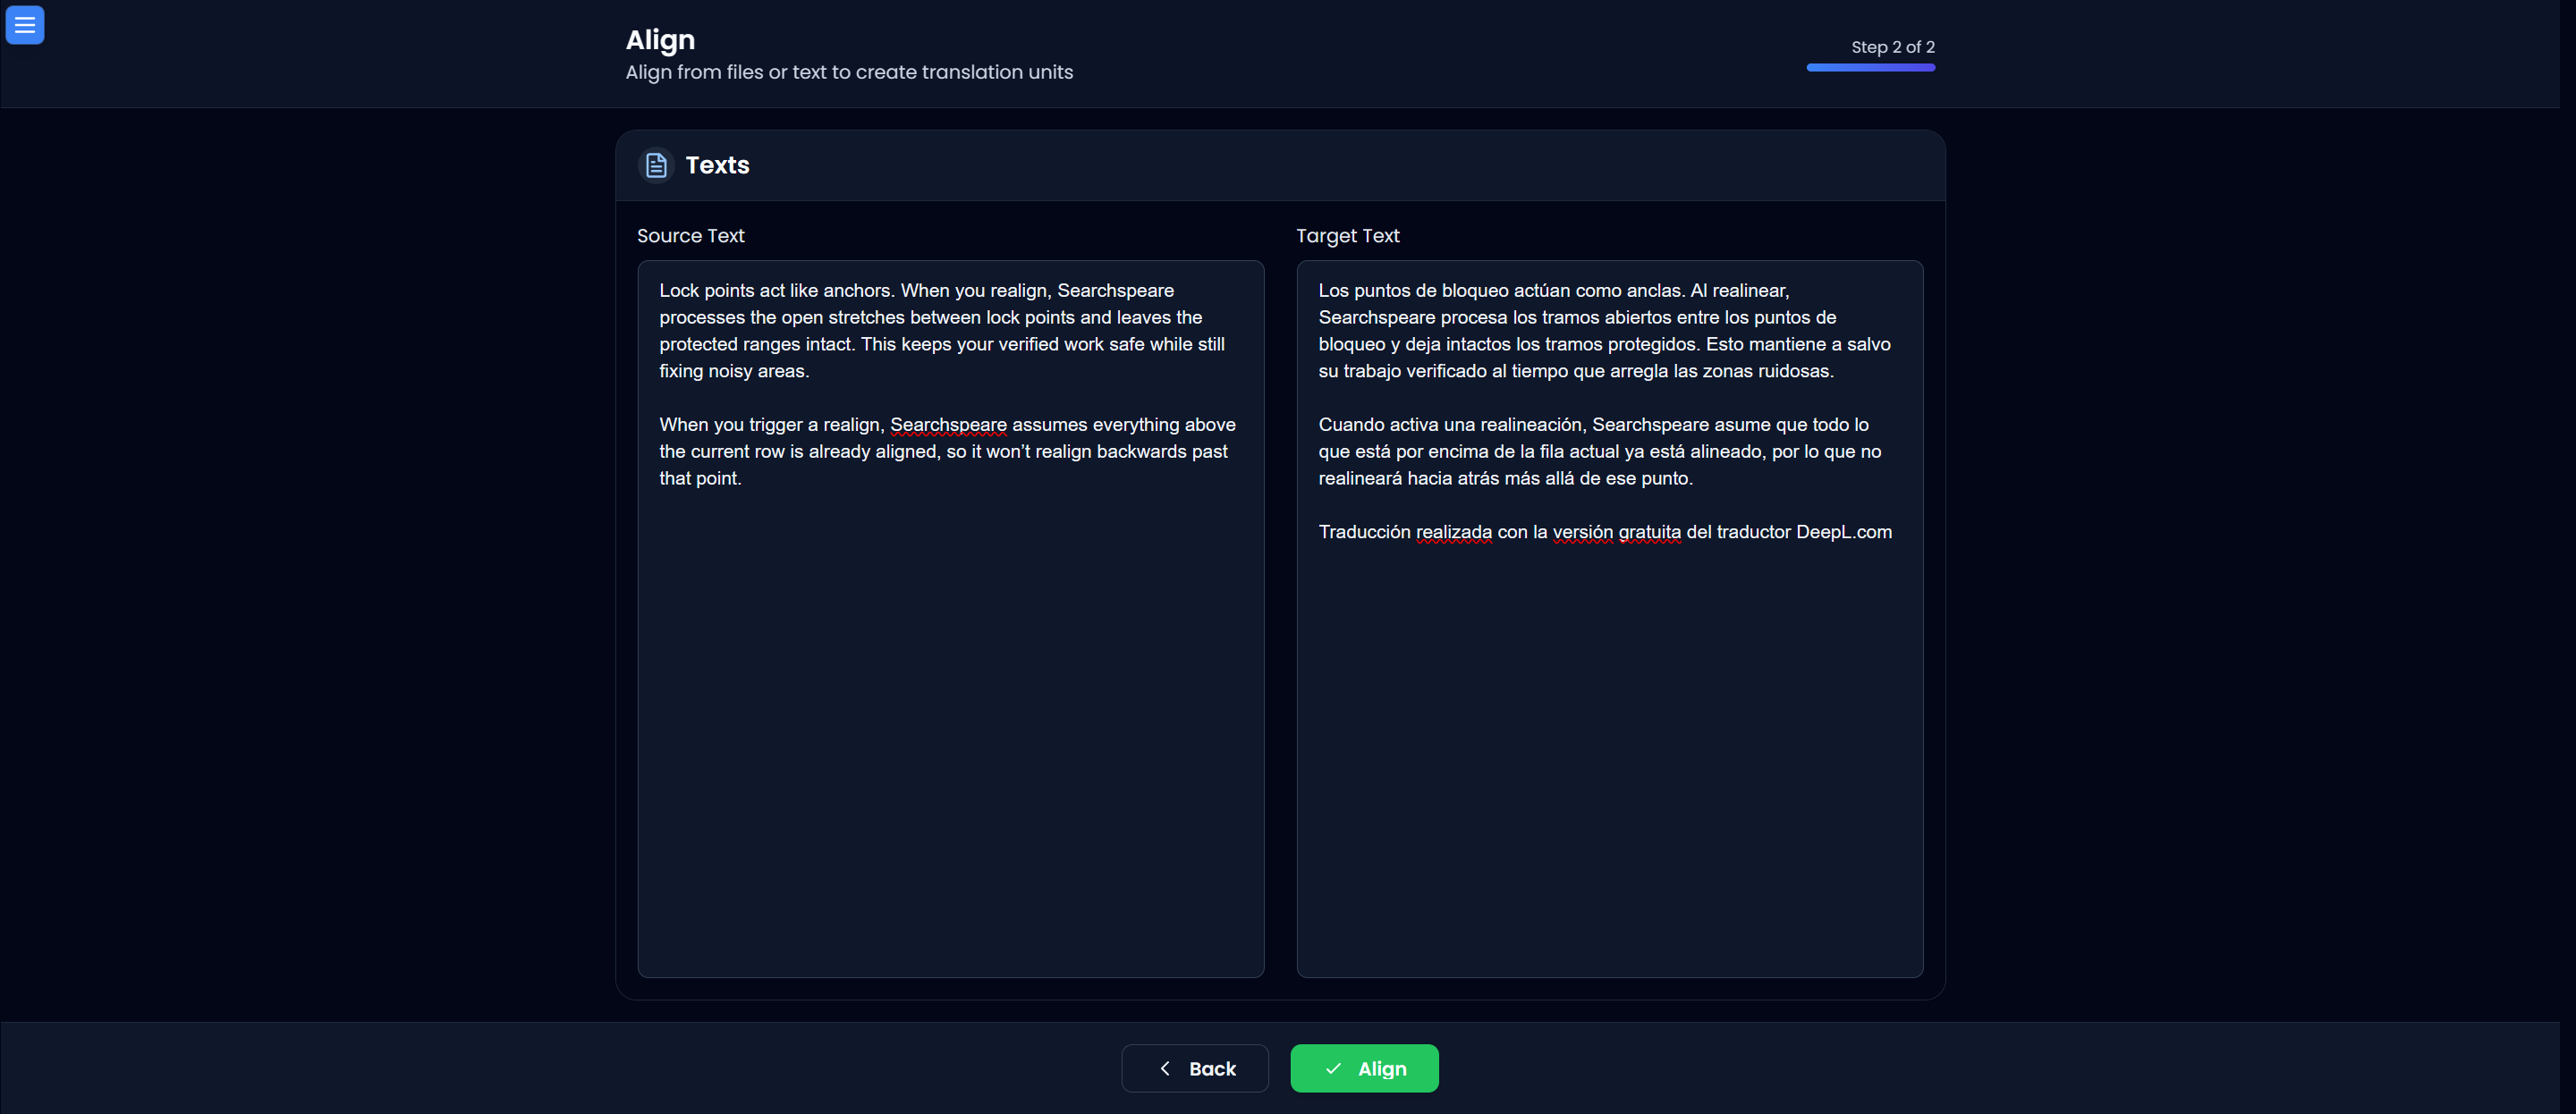
Step 2 — Align from text
If you don’t have files, paste source and target text into the boxes. This is perfect for client-supplied snippets, email content, or text copied from the web.
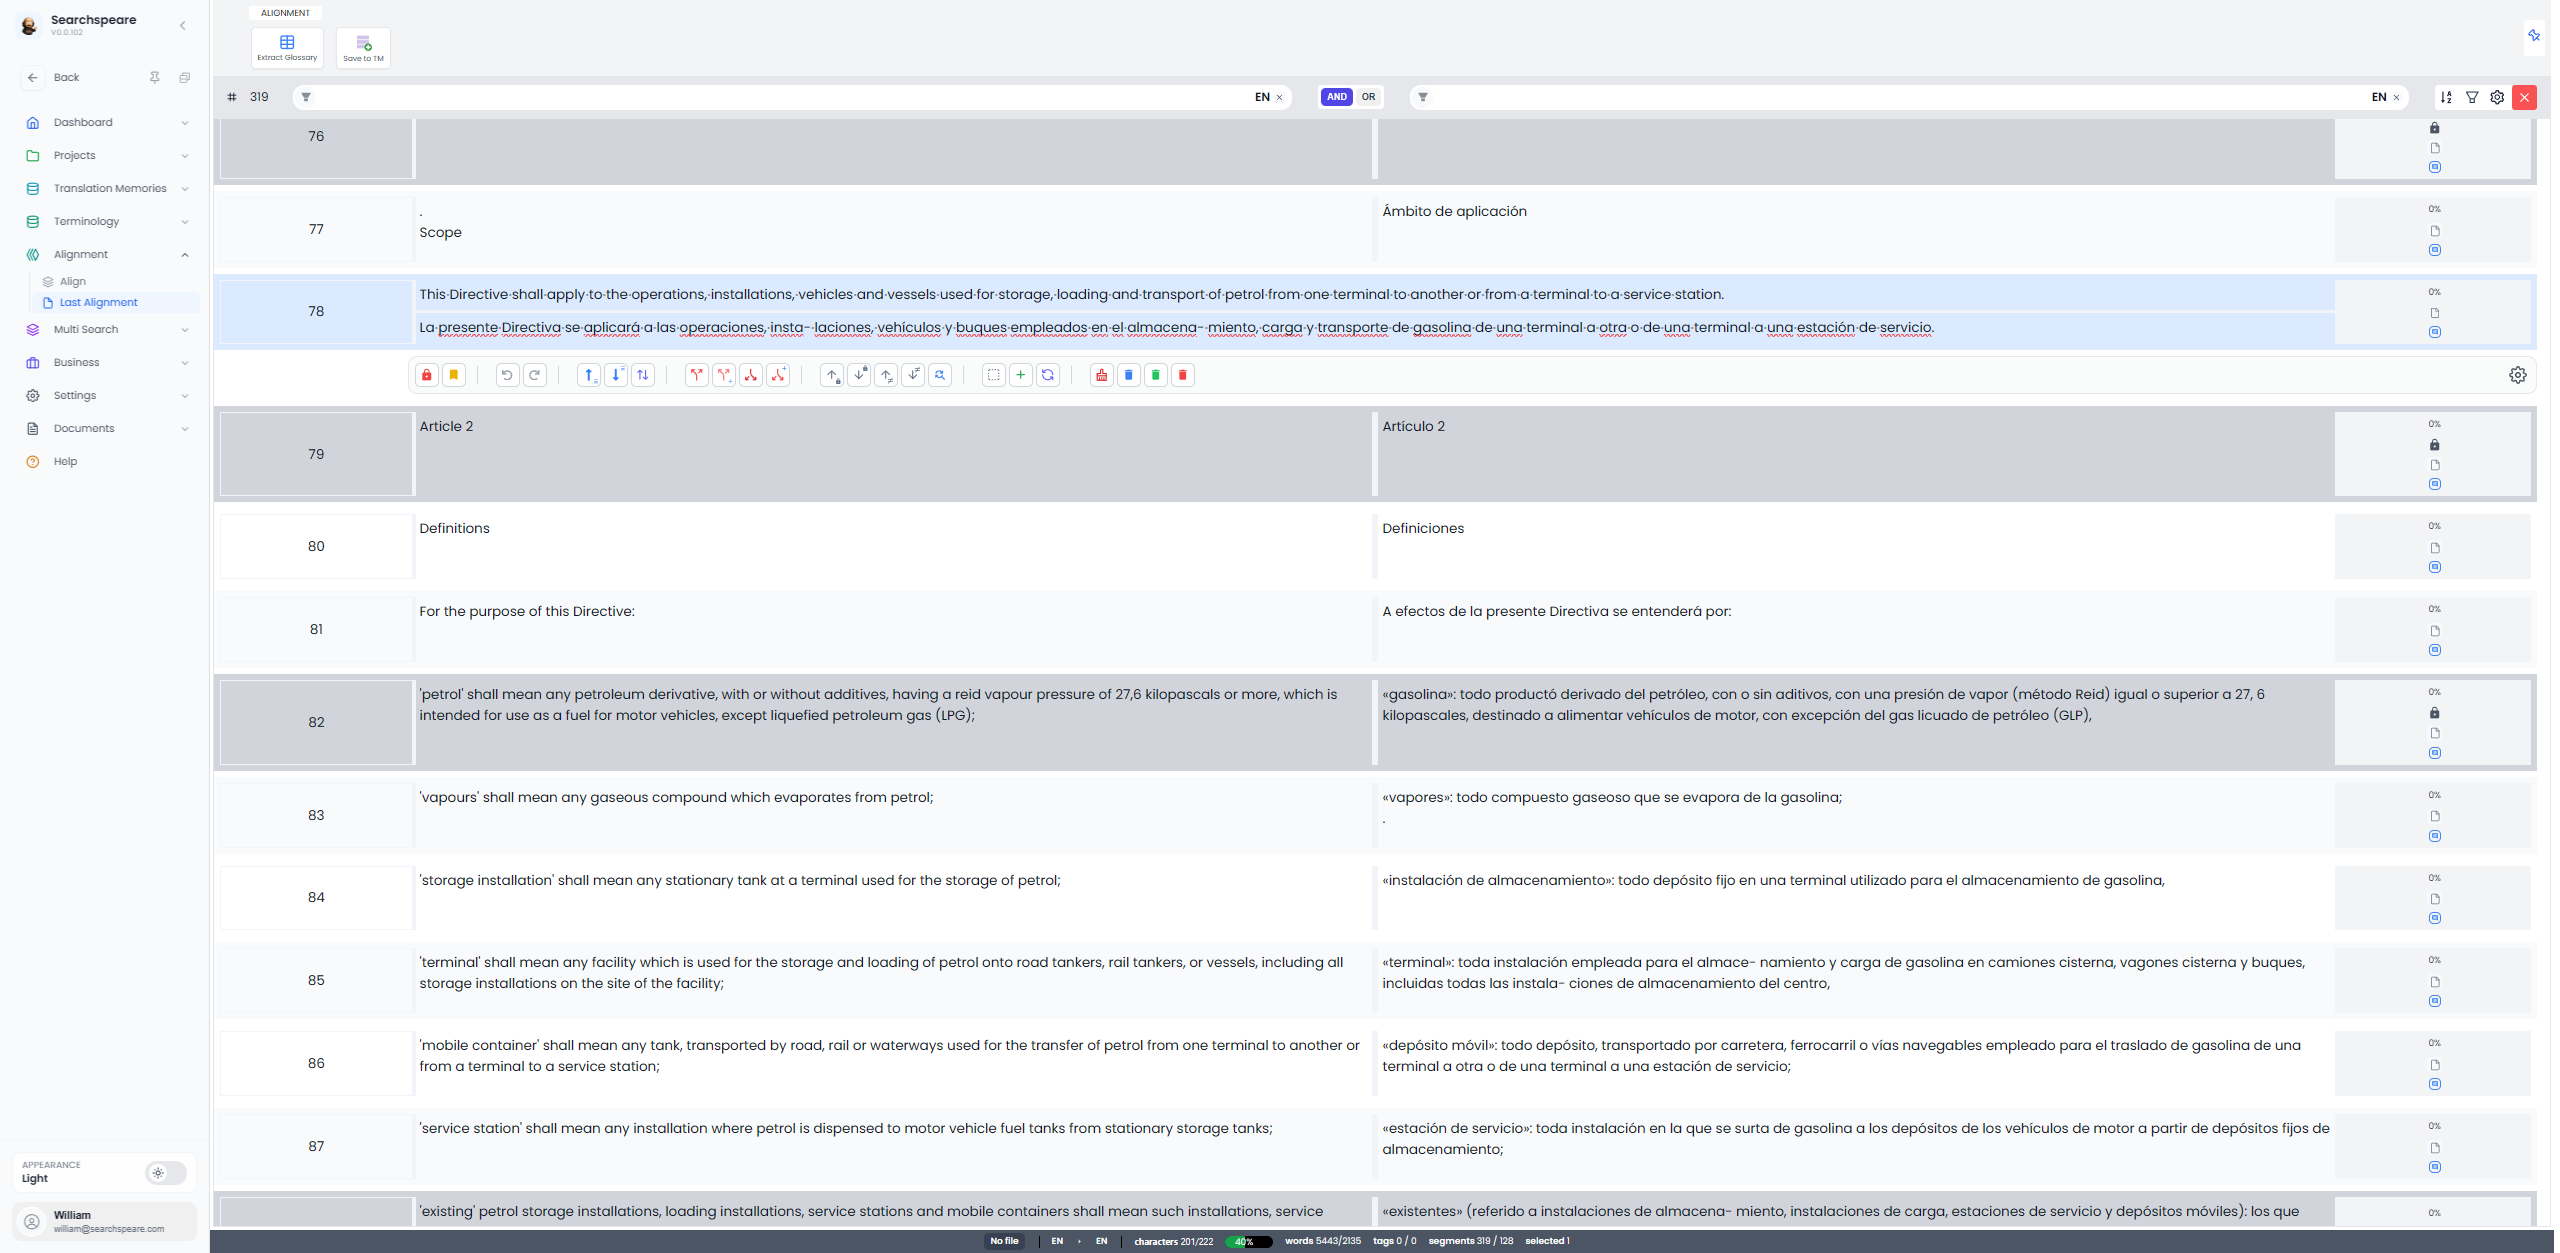
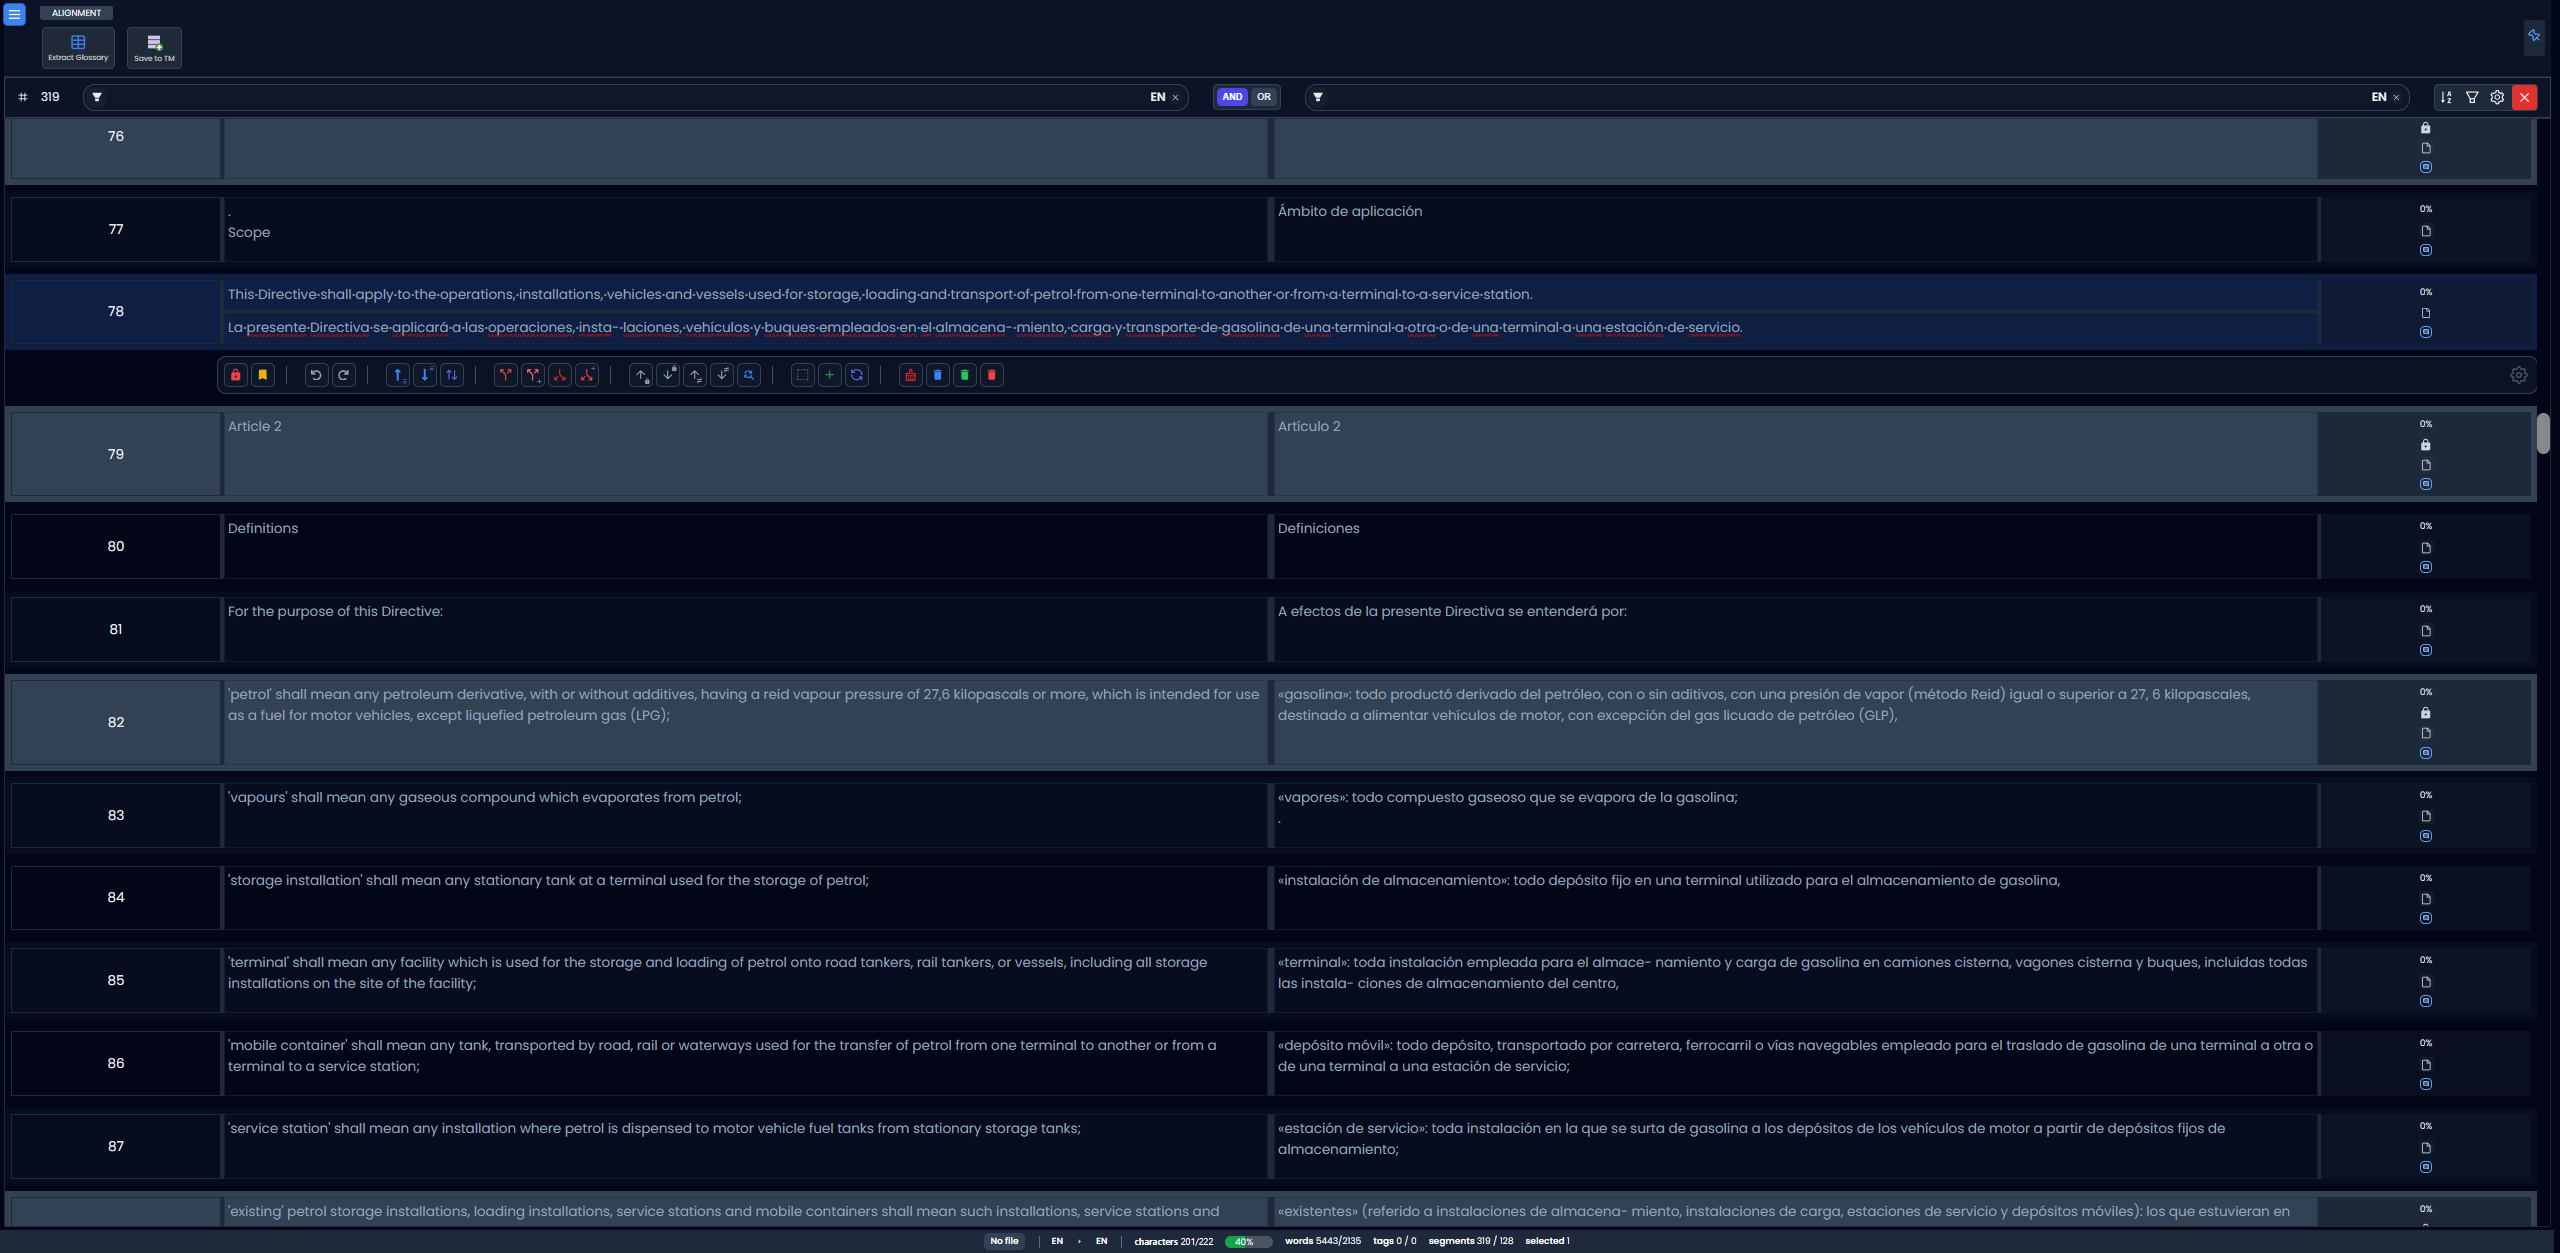
The Alignment table
This is the working area where aligned pairs appear as rows. You can review each unit, lock verified ranges, and refine alignment quality.
Lock points and protected ranges
Lock points act like anchors. When you realign, Searchspeare processes the open stretches between lock points and leaves the protected ranges intact. This keeps your verified work safe while still fixing noisy areas.
When you trigger a realign, Searchspeare assumes everything above the current row is already aligned, so it won’t realign backwards past that point.
Alignment toolbar
Use the floating toolbar to split, merge, swap, clean, filter, and realign units while you work in the table.
Typical workflow
- Set languages and choose From files or From text.
- Add files and let Searchspeare auto-align.
- Review rows in the Alignment table.
- Lock verified ranges, then realign the gaps.
- Use the toolbar to clean and finalize.
- Save to TM or extract a glossary.